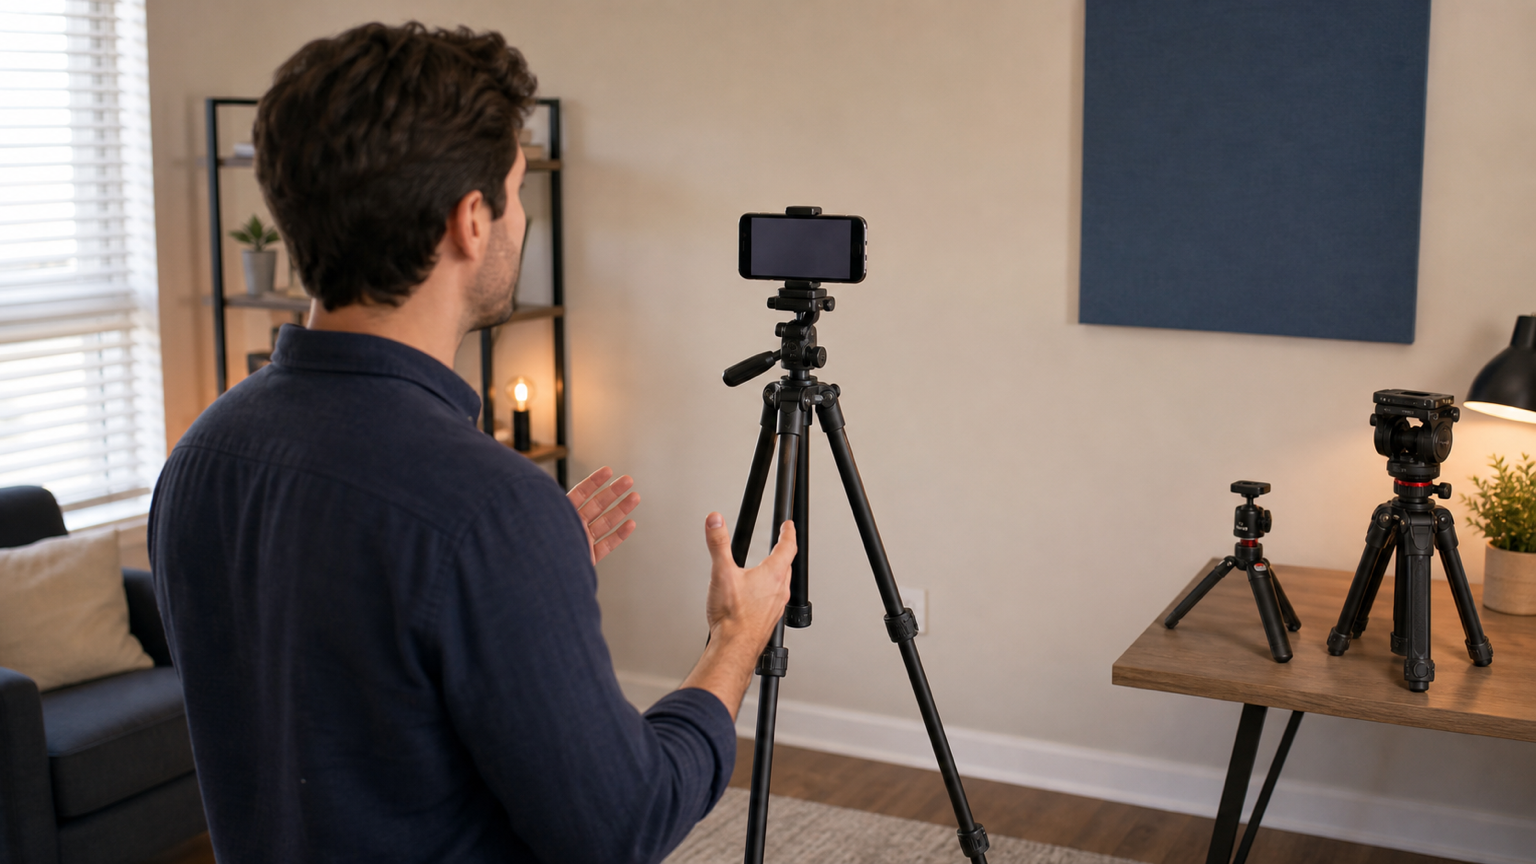
The best tripod setup is the one that keeps the prompt close to the lens, the camera steady, and every control reachable without touching the recording device. For many solo creators, that means one phone on a full-size tripod. A seated desk recording may need only a compact tabletop stand. An external camera usually works better with a second narrow stand for the prompt, while a heavier beam-splitter teleprompter needs a properly rated video tripod.
This guide compares those setups by job rather than by brand. It explains what each arrangement does well, where it can fail, and how to test the complete rig before recording a full script.
Quick answer: choose the setup by camera workflow
- One phone on a full-size tripod: best all-purpose choice for a solo presenter recording with the same phone that displays the script.
- Phone on a tabletop tripod: best for seated lessons, video messages, calls, and desk recordings when the support sits on a rigid surface.
- Camera and prompt phone on separate tripods: best when a mirrorless camera, DSLR, camcorder, or second phone records while another device runs the teleprompter.
- Beam-splitter teleprompter on a video tripod: best for longer scripts and the closest practical eye line, provided the entire loaded rig is balanced and supported.
Do not choose by folded size or advertised height alone. Add the weight of the phone or camera, clamp, head, teleprompter frame, glass, display, microphone, light, cables, and any adapter. The tripod and head must safely support the complete working load in the position you will actually use.
Check six things before buying or building a rig
- Working height: the lens should reach the presenter's eye level without forcing the center column to its least stable position.
- Safety payload: use the manufacturer's rated load for both the legs and head, then leave sensible margin for off-center accessories and movement.
- Head control: a phone clamp may need only a lockable ball head, while a camera or beam-splitter rig benefits from a head that can be balanced and locked without creeping.
- Phone retention: the clamp must grip the real device with its case attached and keep buttons, lenses, and charging ports clear.
- Footprint: fully opened legs need a flat surface and enough room that the presenter, cables, doors, and furniture do not cross them.
- Orientation change: confirm that the clamp can lock in both portrait and landscape without moving the screen far from the lens or putting the load outside the tripod's center.
A listed payload is not permission to build a top-heavy rig at the edge of that number. Extending a center column, adding a side arm, or hanging a phone away from the center changes leverage and stability even when the equipment is light.
Setup 1: one phone on a full-size tripod
This is the simplest useful setup for short-form videos, lessons, product explanations, internal updates, and other solo recordings. The same phone displays the script and records through its front or back camera. Teleprompter Automatic keeps the reader visible with supported mobile recording controls, so the device can stay in one secure clamp.
Set the lens at eye level, open the tripod legs fully, and keep the phone centered above the head. Place the presenter far enough away that normal head movement does not leave the frame. A slightly narrower reading area and larger text can keep the eyes near the active camera instead of scanning across the whole screen.
The front camera makes solo framing easier. The back camera may suit a workflow where another device or a test take confirms framing. In either case, lock portrait or landscape before tuning the script layout. Rotating after rehearsal changes the text width, camera position, and safe crop.
Best for: a portable all-purpose kit with few failure points. Main limitation: touching the phone can shake the shot or move the clamp, so prepare controls before the take or use a tested remote workflow.
Setup 2: a tabletop tripod for seated recording
A compact tripod works well when the presenter sits at a desk and the phone can reach eye level on a rigid, uncluttered surface. It is useful for personalized messages, remote lessons, product walkthrough introductions, and quick practice takes.
Put all feet flat on the same surface. Do not stand the tripod on books, soft pads, an open laptop, or a stack of boxes to gain height. If the desk is too low, use a properly locked riser designed for the load or move to a floor tripod. Keep the support far enough from the desk edge that a hand, notebook, or cable cannot knock it off.
Avoid very wide phone cages or heavy lights on a tiny ball head. A compact stand is stable only while its load stays over its footprint. Put a separate light or microphone on its own support when the accessory makes the phone lean or the head creep.
Best for: a fixed seated position in a small room. Main limitation: desk vibration travels directly into the camera, so typing, leaning on the surface, or moving equipment can spoil the take.
Setup 3: separate tripods for the camera and prompt
Use two tripods when one device records and another displays the script. The recording camera goes on the stronger support. A phone or small tablet runs Teleprompter Automatic on a second narrow stand placed immediately beside or below the lens.
Start with the camera at eye level. Move the prompt device as close to the lens as its clamp and tripod allow without blocking the picture, autofocus sensors, camera controls, or lens movement. Then narrow the reader's active text area toward the lens-facing edge. The farther the presenter stands from the rig, the less visible a small gap becomes, but text must remain comfortably readable.
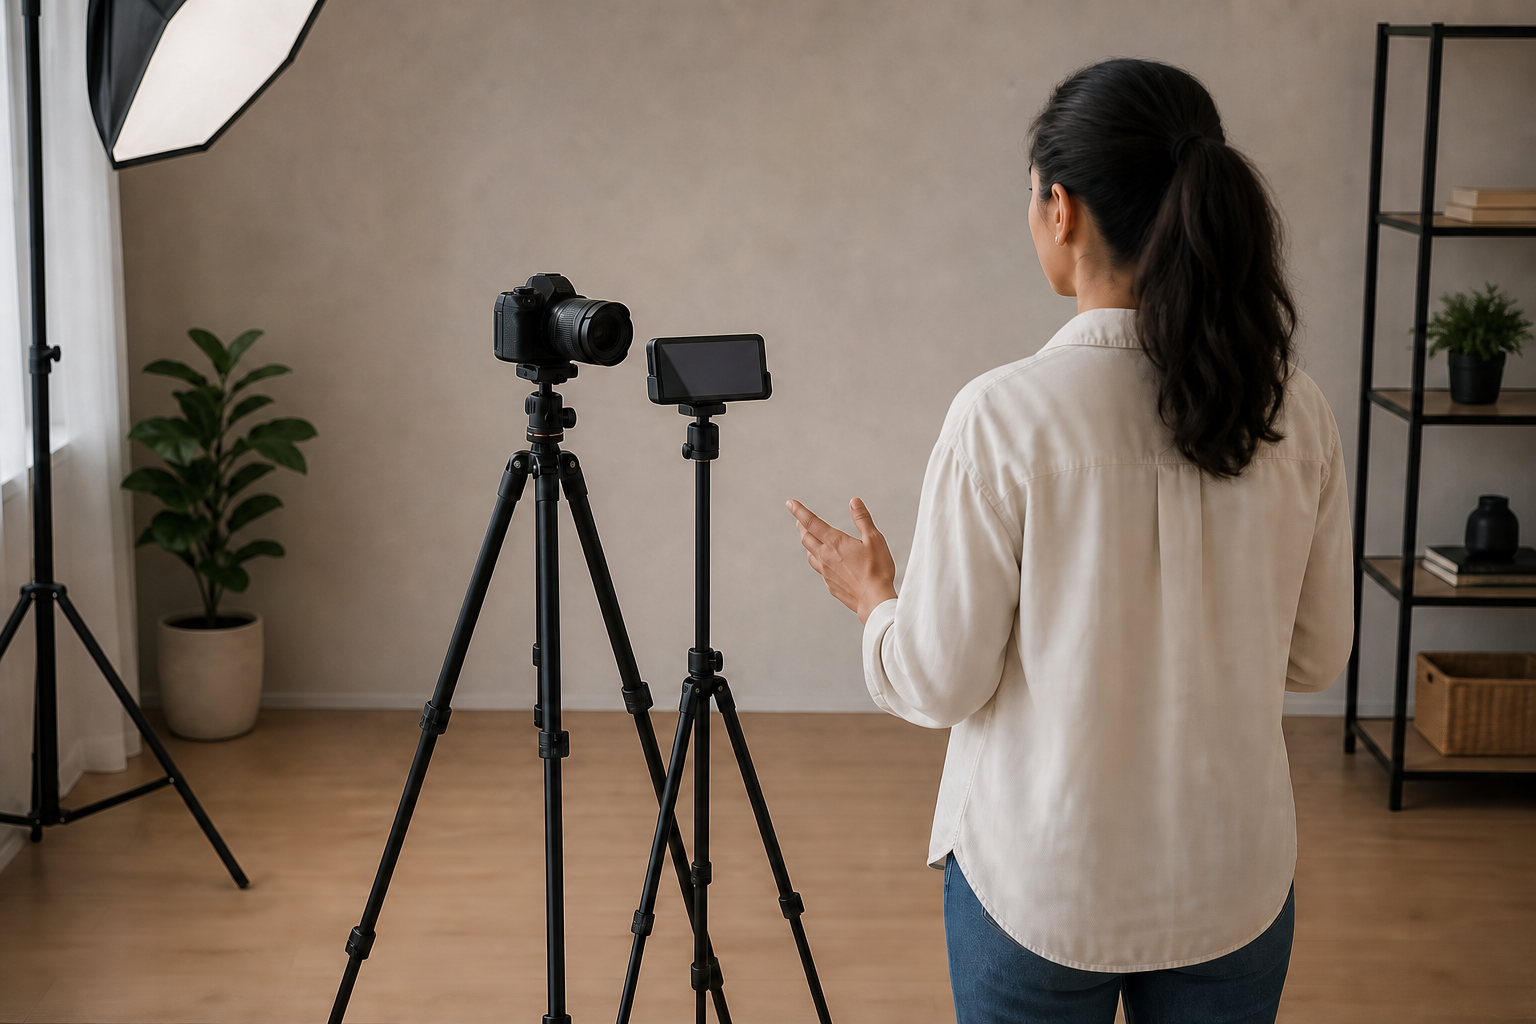
Mark both tripod positions after the test works. Small changes in the prompt height or side gap can make the presenter's eye movement more obvious. Leave access to the camera card, battery, ports, and lens controls so a routine change does not force you to rebuild the eye line.
Best for: a flexible external-camera workflow without a full hardware teleprompter. Main limitation: the prompt is adjacent to the lens rather than directly in front of it, so short lines and a careful reading position matter.
Setup 4: beam-splitter teleprompter on a video tripod
A beam-splitter teleprompter reflects mirrored text in front of the camera while the lens records through the glass. It usually provides the most direct eye line for long lessons, speeches, interviews, and repeatable studio production.
Treat the teleprompter, display, camera, lens, bracket, shroud, adapters, and accessories as one loaded system. Follow the hardware manufacturer's assembly and payload instructions. Center the lens behind the glass, lock every plate and rail, and confirm that a zoom or focusing lens cannot extend into the glass. Never assume the camera lens should carry a rig unless the exact hardware documentation permits that configuration.
Heavy or front-biased systems need a support head that can hold the complete load without slipping. Spread the legs, keep the center column low when possible, manage cables close to the support, and use only the counterweight method approved for the stand. If the rig creeps after you remove your hands, stop and rebalance it.
Use the reader's text-mirror setting required by the glass, then record a short test for reflections, focus, exposure, and readable contrast. Camera mirror and teleprompter text mirror solve different problems; verify the saved video rather than judging only the preview.
Best for: sustained direct-to-camera delivery and repeated studio sessions. Main limitation: more setup time, more weight, and more balance checks.
Keep the lens, prompt, and eyes on one practical line
Tripod height matters more than maximum extension. Set the camera lens at the presenter's natural eye level while they stand or sit with normal posture. A lens that is too low makes the presenter look down; a lens that is too high creates a strained upward gaze.
Next, place the active reading area around the lens rather than filling the entire display. Short lines reduce side-to-side scanning. Font size should be large enough at the real speaking distance, but not so large that only a few words appear and force constant scrolling.
Record 15 to 30 seconds and watch only the eyes. If they jump sideways, shorten the line width, bring the prompt closer to the lens, move the presenter slightly farther back, or choose the beam-splitter setup. Do not try to solve a physical offset only by speaking faster.
Set portrait or landscape before balancing the tripod
Choose the final frame before tightening the clamp. Portrait places the phone's long dimension vertically and can raise the center of gravity. Landscape makes the screen wider and can encourage long reading lines. Either orientation works when the clamp locks securely and the phone remains centered.
After rotating, check that the clamp still grips the device fully, the tripod head does not roll, the charging cable does not pull sideways, and no camera lens is covered. Reframe the presenter and retune the reader after every orientation change. If you need both versions, mark two tested configurations instead of rotating a live rig casually between takes.
Separate accessories that make the main support unstable
A small microphone or light can attach to some phone clamps, but convenience is not the same as stability. Watch the head after every addition. If it tilts, twists, vibrates, or requires excessive force to lock, move the accessory to its own stand.
Keep power banks low and close to a tripod leg rather than hanging them from the phone. Route cables down the support with enough slack for camera movement, then secure the route so a foot or chair cannot pull it. Do not wrap a cable so tightly that it moves the head when the device is adjusted.
Outdoors, wind can act on phones, tablets, glass, softboxes, and fabric shrouds. A setup that is stable in a quiet room may not be safe outside. Follow the support manufacturer's outdoor guidance and stop when conditions exceed the rig you have.
Control a mounted phone without shaking it
Prepare the script, scroll mode, text size, countdown, camera, microphone, orientation, and framing before the final take. The scrolling and reader controls guide explains how to tune the reading experience, while the camera and recording settings guide covers the recording test.
When the phone is out of reach, Web Remote control can manage supported reader and recording actions from a paired browser device. A compatible Bluetooth remote setup may suit a simpler local workflow. Test every play, pause, speed, start, and stop action with the correct session before the real recording.
A remote does not make a weak stand safe. It only reduces the need to touch a stable mounted device.
Run a complete stability and recording test
- Build the rig with every camera, phone, case, adapter, cable, microphone, light, and teleprompter component you plan to use.
- Open the legs fully on a level surface and lock each section, plate, clamp, tilt control, and orientation joint.
- Set the lens and reading area to the presenter's eye line.
- Walk the normal route into position and confirm that feet, chairs, doors, pets, and cables do not cross the tripod footprint.
- Operate remote controls and accessories while watching for movement.
- Record a short sample that includes the opening, a pause, a gesture, and the closing line.
- Review eye movement, framing, focus, exposure, sound, reflections, vibration, and whether the support has crept.
- Mark the working floor positions and save the reader and camera settings that passed.
If anything loosens, tilts, vibrates, or blocks safe movement, rebuild the setup before recording. A successful test is more valuable than finishing quickly with a rig you do not trust.
A sensible upgrade path
Start with the support required by the work you already do. A secure phone clamp and a full-size tripod cover many solo recordings. Add a tabletop stand only when a repeated seated workflow justifies it. Move to two tripods when a separate camera provides a clear production benefit. Choose a beam-splitter system when long scripted delivery and direct eye contact repay the extra weight and setup time.
Upgrade the weakest part first. A stronger tripod does not fix a loose clamp, and a premium teleprompter does not fix a head that cannot hold its loaded position. Reliable plates, locks, and repeatable marks often improve a recording more than adding another accessory.
Common tripod setup mistakes
- raising a lightweight center column fully instead of using stable leg height
- placing the lens above or below the presenter's natural eye line
- choosing the support by camera weight while ignoring the head, glass, display, adapters, and accessories
- letting a phone or tablet sit outside the tripod's center without rated support
- using long prompt lines that make the eyes scan across the screen
- rotating between portrait and landscape without rebalancing and reframing
- stacking a tabletop tripod on books or soft objects
- hanging batteries or cables where they pull the head or cross a walkway
- mounting lights and microphones until a small phone head starts to creep
- starting the full script before reviewing a stability, eye-line, sound, and focus test
Related Teleprompter Automatic guides
- teleprompter for content creators - Connect the physical rig to a complete scripted recording workflow.
- scrolling and reader controls - Set line width, text size, cue position, mirror behavior, and pace for the chosen setup.
- camera and recording settings - Verify camera, microphone, countdown, grid, mirror, and framing before a full take.
- Web Remote control - Operate a mounted phone from a paired browser device.
- Bluetooth remote control - Prepare a compatible local reader-control workflow.
- record and export videos - Review the take and save the approved result.
- script-to-finished-video workflow - Plan the script, rehearsal, recording, edit, and export around the rig.