Craft and DIY tutorials are easier to record when the words and the hand movements are planned together. A teleprompter helps you explain each step without looking down at notes, but the script has to leave room for cutting, folding, painting, measuring, waiting, and showing the result.
Use this workflow when you are filming sewing projects, home decor, paper crafts, repairs, art lessons, handmade product demos, or any tutorial where the viewer needs to see both the process and the finished detail. The goal is not to sound overly polished; it is to keep the explanation steady while your hands stay busy.
Start with the viewer's visible task
Before writing the script, list what the viewer must see to follow the tutorial. A craft video usually needs fewer spoken ideas than a normal talking-head video because the camera is also teaching. If the viewer can understand a step by watching your hands, the script should name the action and the reason, not narrate every tiny movement.
A practical outline looks like this:
- finished result: what the viewer will make
- materials: the items that matter for the project
- setup: what should be ready before filming
- core steps: one visible action per script block
- checkpoints: what the work should look like before moving on
- finish: drying time, cleanup, styling, or next use
This keeps the script close to the real project. It also helps you decide when to record a full spoken section and when to capture silent close-up footage for editing later.
Write a teleprompter script that leaves room for your hands
Craft scripts should be shorter than blog instructions. Write in spoken blocks, not long paragraphs. One block might say, "Fold the edge toward the center line, press it flat, and check that the corners still match." That is enough to guide the viewer while your hands show the detail.
Put measurements, material names, drying times, and safety reminders on their own lines. If you need to say a brand-neutral alternative, place it right after the main material: "cotton fabric, or another light woven fabric." Short lines are easier to read in Teleprompter Automatic and easier to adjust later when the project changes.
If you draft on a computer first, use the create and import scripts guide to move the final text into the app before recording. Keep one master script for the full tutorial and, when needed, split long projects into smaller segment scripts.
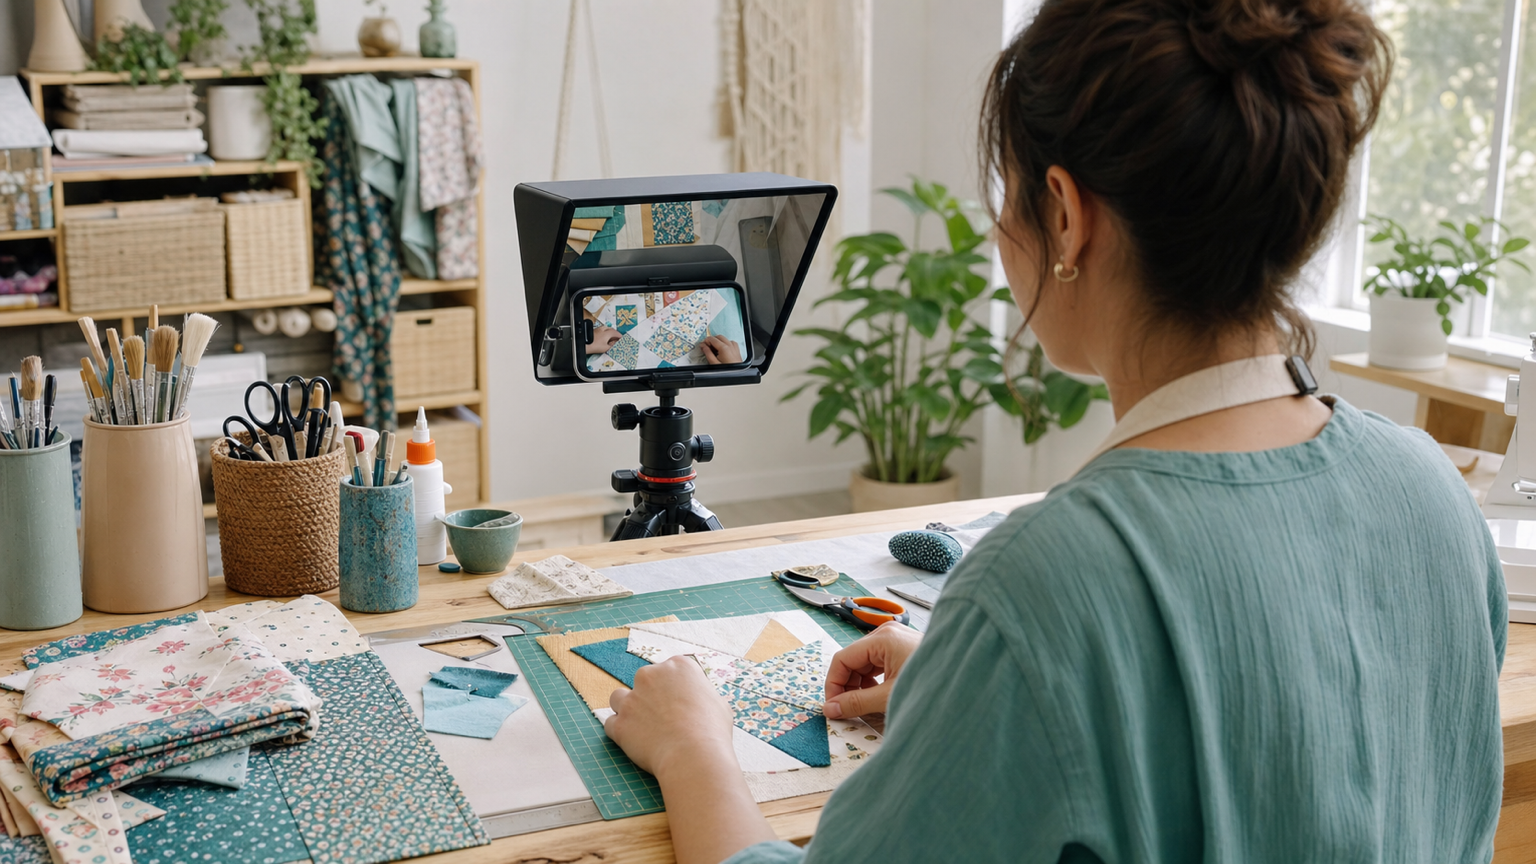
Place the phone so the teleprompter supports the camera angle
DIY videos often use two views: a face-to-camera explanation and a top-down or angled view of the workspace. The teleprompter position should match the shot.
For the talking sections, mount the phone or camera at eye level and keep the reader close to the lens. For workbench sections, move the reader where you can glance at it without hiding the materials. If you use an overhead camera, do not force yourself to read from the table surface while your hands are in frame. Record a short intro facing the camera, then switch to step-by-step workspace shots where the script is used as a cue list.
Check the camera and recording settings before the full take, especially if you need a close crop, a clean background, or a stable phone mount.
Use scroll controls for pauses, close-ups, and mistakes
A craft tutorial rarely moves at one perfect speed. You may pause to align fabric, wait for glue, repeat a brush stroke, or bring a small detail closer to the camera. Set the reader so the text helps rather than pressures you.
Fixed scrolling works well for a short intro or outro. Timed reading can help when a segment must fit a short video. Words-per-minute pacing is useful for rehearsal because it shows whether the explanation is too dense. Speech-based scrolling can be helpful when you pause often, but test it with the exact room, microphone, and project vocabulary before relying on it for the final take.
The safest method is to rehearse one real step with the materials in front of you. If your hands need more time than the script allows, edit the line or slow the reader before recording. For the exact reader options, use the scrolling and reader controls guide.
Record in short blocks instead of one long take
Long craft tutorials are hard to fix when one mistake happens in the middle. Record the project in blocks that match the physical steps: intro, materials, setup, first action, checkpoint, second action, finish, and final reveal.
Short blocks have three advantages. You can reset the workspace between steps. You can rerecord one explanation without starting the whole project again. And you can keep the teleprompter text focused on the current action instead of trying to scroll through an entire tutorial while your hands are busy.
For each block, record a five to ten second test. Watch it for eye line, hand visibility, focus, and audio. If a tool blocks the view, move the camera before the real take. If the spoken explanation runs longer than the action, trim the words instead of making the viewer wait.
Capture proof shots the viewer can trust
A good DIY video proves that the step worked. After each important action, hold the result still long enough for the viewer to inspect it. Show the seam, fold, painted edge, measured piece, or before-and-after state before moving on.
The teleprompter can remind you to capture those proof shots. Add cue lines such as "show the edge," "hold for close-up," or "compare both pieces." These cues do not need to be spoken. They belong in the script because they protect the visual teaching part of the tutorial.
If your hands are occupied and the phone needs to stay fixed, Web Remote control can help with playback or recording control from another browser device after the mobile session is paired.
Keep materials, timing, and safety notes concise
Materials and timing details help viewers prepare, but they can make a video drag if they are read like a shopping list. Put the essentials in the spoken script and leave optional alternatives for the caption, description, or on-page notes.
For projects involving blades, heat tools, solvents, dust, or small parts, keep the reminder simple and specific. Do not turn the video into a safety lecture unless the project requires it. A useful line is, "Keep the blade capped between cuts and move scraps away from the work area." Then show the safe setup clearly on camera.
Review and export for the tutorial destination
After recording, review the video as a viewer would: Can you see the hands? Can you hear the instruction? Does the script name the important material or measurement at the right moment? Does each step show the result before the next step begins?
When the take works, use the record and export videos workflow to save a version that fits the destination. A horizontal long-form tutorial, a vertical short, and a square social clip may need different framing and pacing even when they come from the same project.
Save the cleaned script after the video is finished. It can become captions, a project checklist, a product listing description, a class handout, or the outline for a shorter follow-up clip. For broader planning, the Teleprompter Automatic for content creators page connects this tutorial workflow to other repeatable creator formats.
Common mistakes to avoid
- writing a full blog tutorial and trying to read it word for word
- placing the reader where your eyes leave the project or the camera too often
- recording a long take instead of step-by-step blocks
- forgetting cue lines for close-ups, checkpoints, and final reveal shots
- letting the scroll speed control the craft pace instead of the other way around
- showing a finished project without proving the key steps that created it
Related Teleprompter Automatic guides
- create and import scripts - Prepare and organize the tutorial text before recording.
- scrolling and reader controls - Tune pace for pauses, close-ups, and step-by-step delivery.
- camera and recording settings - Check framing, microphone, and setup before the full take.
- record and export videos - Save the finished tutorial for the right channel.
- Web Remote control - Control the reader or recorder when the mounted phone needs to stay still.
- Teleprompter Automatic for content creators - Connect craft tutorials to a wider creator workflow.