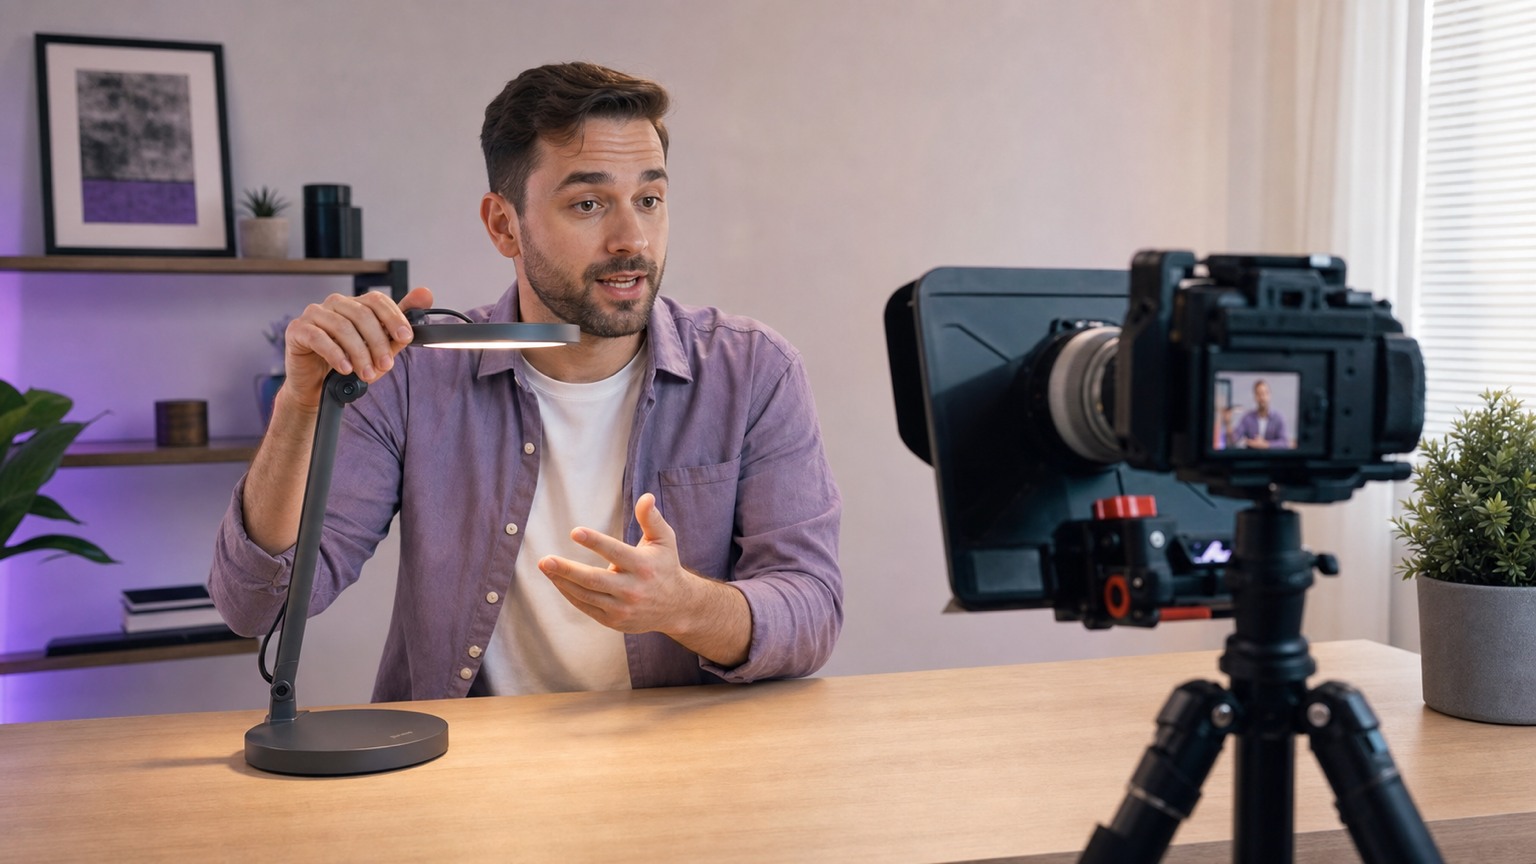
A clear product demo video should let viewers follow one simple chain: what the product helps with, what the presenter does, what visibly changes, and why that result matters. A teleprompter can keep the explanation and transitions precise while your eyes, hands, and camera stay focused on the demonstration.
The useful approach is not to read every movement aloud. Build the walkthrough as short spoken lines separated by action cues, pauses, and reset points. This guide shows how to plan that structure, set a comfortable reader pace, record proof instead of vague claims, and keep retakes small when one step goes wrong.
Quick workflow for a product demo video
- Choose the one result the viewer should understand by the end.
- List only the product actions needed to prove that result.
- Write each beat as a promise, an action cue, a visible result, and a short bridge.
- Put production reminders on their own lines so they are not mistaken for spoken copy.
- Create or import the script in Teleprompter Automatic and test the pace aloud.
- Record one complete setup test with the real product, camera, microphone, and lighting.
- Review whether the promised result is visible before spending time on polish.
This workflow works for physical products, app features, equipment, tools, and service walkthroughs. If the product is software, decide whether the main proof belongs in a separate screen recording; the teleprompter should guide the narration without hiding the interface viewers need to inspect.
Choose the result before listing features
Product demos become confusing when they try to prove everything at once. Start with the decision or task the video supports. A desk-lamp demo might prove how quickly the light changes from focused work to a warmer evening setting. A microphone demo might prove how one control changes the monitoring level. A software demo might prove how a user completes one workflow from start to finish.
Write that result in one sentence before drafting the script. Then remove any feature that does not help prove it. This gives the demo a boundary and prevents the presenter from drifting into specifications, company history, or secondary options while the viewer is still waiting to see the main action.
If the video is mainly a pitch, use the separate guide for a clear sales video. If it evaluates strengths, limits, and buyer fit, use the product review workflow. A demo is narrower: show the product doing the useful thing.
Build every beat as promise, action, and visible result
A strong demo beat tells the viewer what to watch before the action happens. It then leaves enough space for the action and names the result only after the viewer can see it. Use this four-part pattern:
- Promise: state the small outcome this step will demonstrate.
- Action cue: remind yourself what to press, move, open, attach, or compare.
- Visible result: describe the change the camera or screen now proves.
- Bridge: connect that result to the next useful step.
For an adjustable lamp, the spoken promise could be: First, I will change this from a focused work light to a softer evening setting. Put ACTION: TAP WARMTH CONTROL on a separate line. After the action, say: The color changes without moving the lamp, so the same desk setup can support a different part of the day. Then bridge to brightness or storage.
This structure keeps the script tied to visible evidence. It also makes editing easier: each beat has a clear beginning, proof moment, and exit.
Keep spoken lines separate from hands-on cues
Do not mix narration, camera directions, and product steps inside one long paragraph. The presenter will either read a private instruction aloud or miss the action while concentrating on the sentence. Put each cue on its own short line and use the same labels throughout the script.
- ACTION for the movement the viewer must see.
- HOLD when the result needs an extra second on camera.
- RESET when the product must return to a known state.
- CLOSE-UP when a detail needs a tighter shot or separate insert.
- PAUSE when silence helps the proof land.
These are writing conventions, not automatic app commands. Keep them visually distinct, rehearse which lines are silent, and delete cues that no longer help. The script creation and import guide explains how to prepare readable text before opening the reader.
Match the script to a physical or screen product
For a physical product, the camera must see both the action and its result. Place the product inside a repeatable working area, keep the teleprompter close to the lens, and check that your hands do not block the important control. Write the spoken line first, look down only when the action naturally requires it, then return your attention to the camera for the result.
For software, keep navigation steps separate from narration. The screen recording owns the interface detail; the teleprompter owns the spoken explanation and transitions. Use short screen beats such as OPEN PROJECT, CHOOSE EXPORT, and SHOW RESULT, then record enough still time for viewers to inspect the changed state. The guide to screen recording with teleprompter scripts covers that production layout in more depth.
Avoid claiming that a separate product, platform, or screen recorder integrates with Teleprompter Automatic unless you have verified it. The practical relationship may simply be two tools used side by side.
Write for spoken clarity, not product documentation
Product documentation can be comprehensive. A demo script should be selective and easy to say. Use one idea per sentence, put exact names or numbers on their own lines, and replace abstract adjectives with observable changes. Instead of saying a control is intuitive, show the action and describe what changes. Instead of calling a result seamless, let the uninterrupted sequence prove it.
Read the script aloud while holding or operating the product. If a sentence prevents the action, shorten it. If the action takes longer than the sentence, add a deliberate pause or a second line that describes what the viewer should notice. You can use the speech time calculator for an initial estimate, but the real duration must include product movement, focus changes, loading time, and visual holds.
Set reader pace around the demonstration
A product walkthrough rarely moves at one uninterrupted speaking speed. Fixed-speed or words-per-minute scrolling can support the opening, explanation, and closing, but hands-on steps need pauses. Timed scrolling is useful only when the action sequence is predictable enough to rehearse against a fixed duration. Speech-driven scrolling can leave room for natural delivery, but test it with the exact language, microphone, room, and product noise before relying on it.
Start by reading one complete demo beat aloud. Slow the reader if the action finishes after the next line has arrived. Speed it up only when you consistently finish the spoken thought and wait for text. Keep the font large enough to read from the real camera position, and leave blank space around action cues so they are easy to recognize.
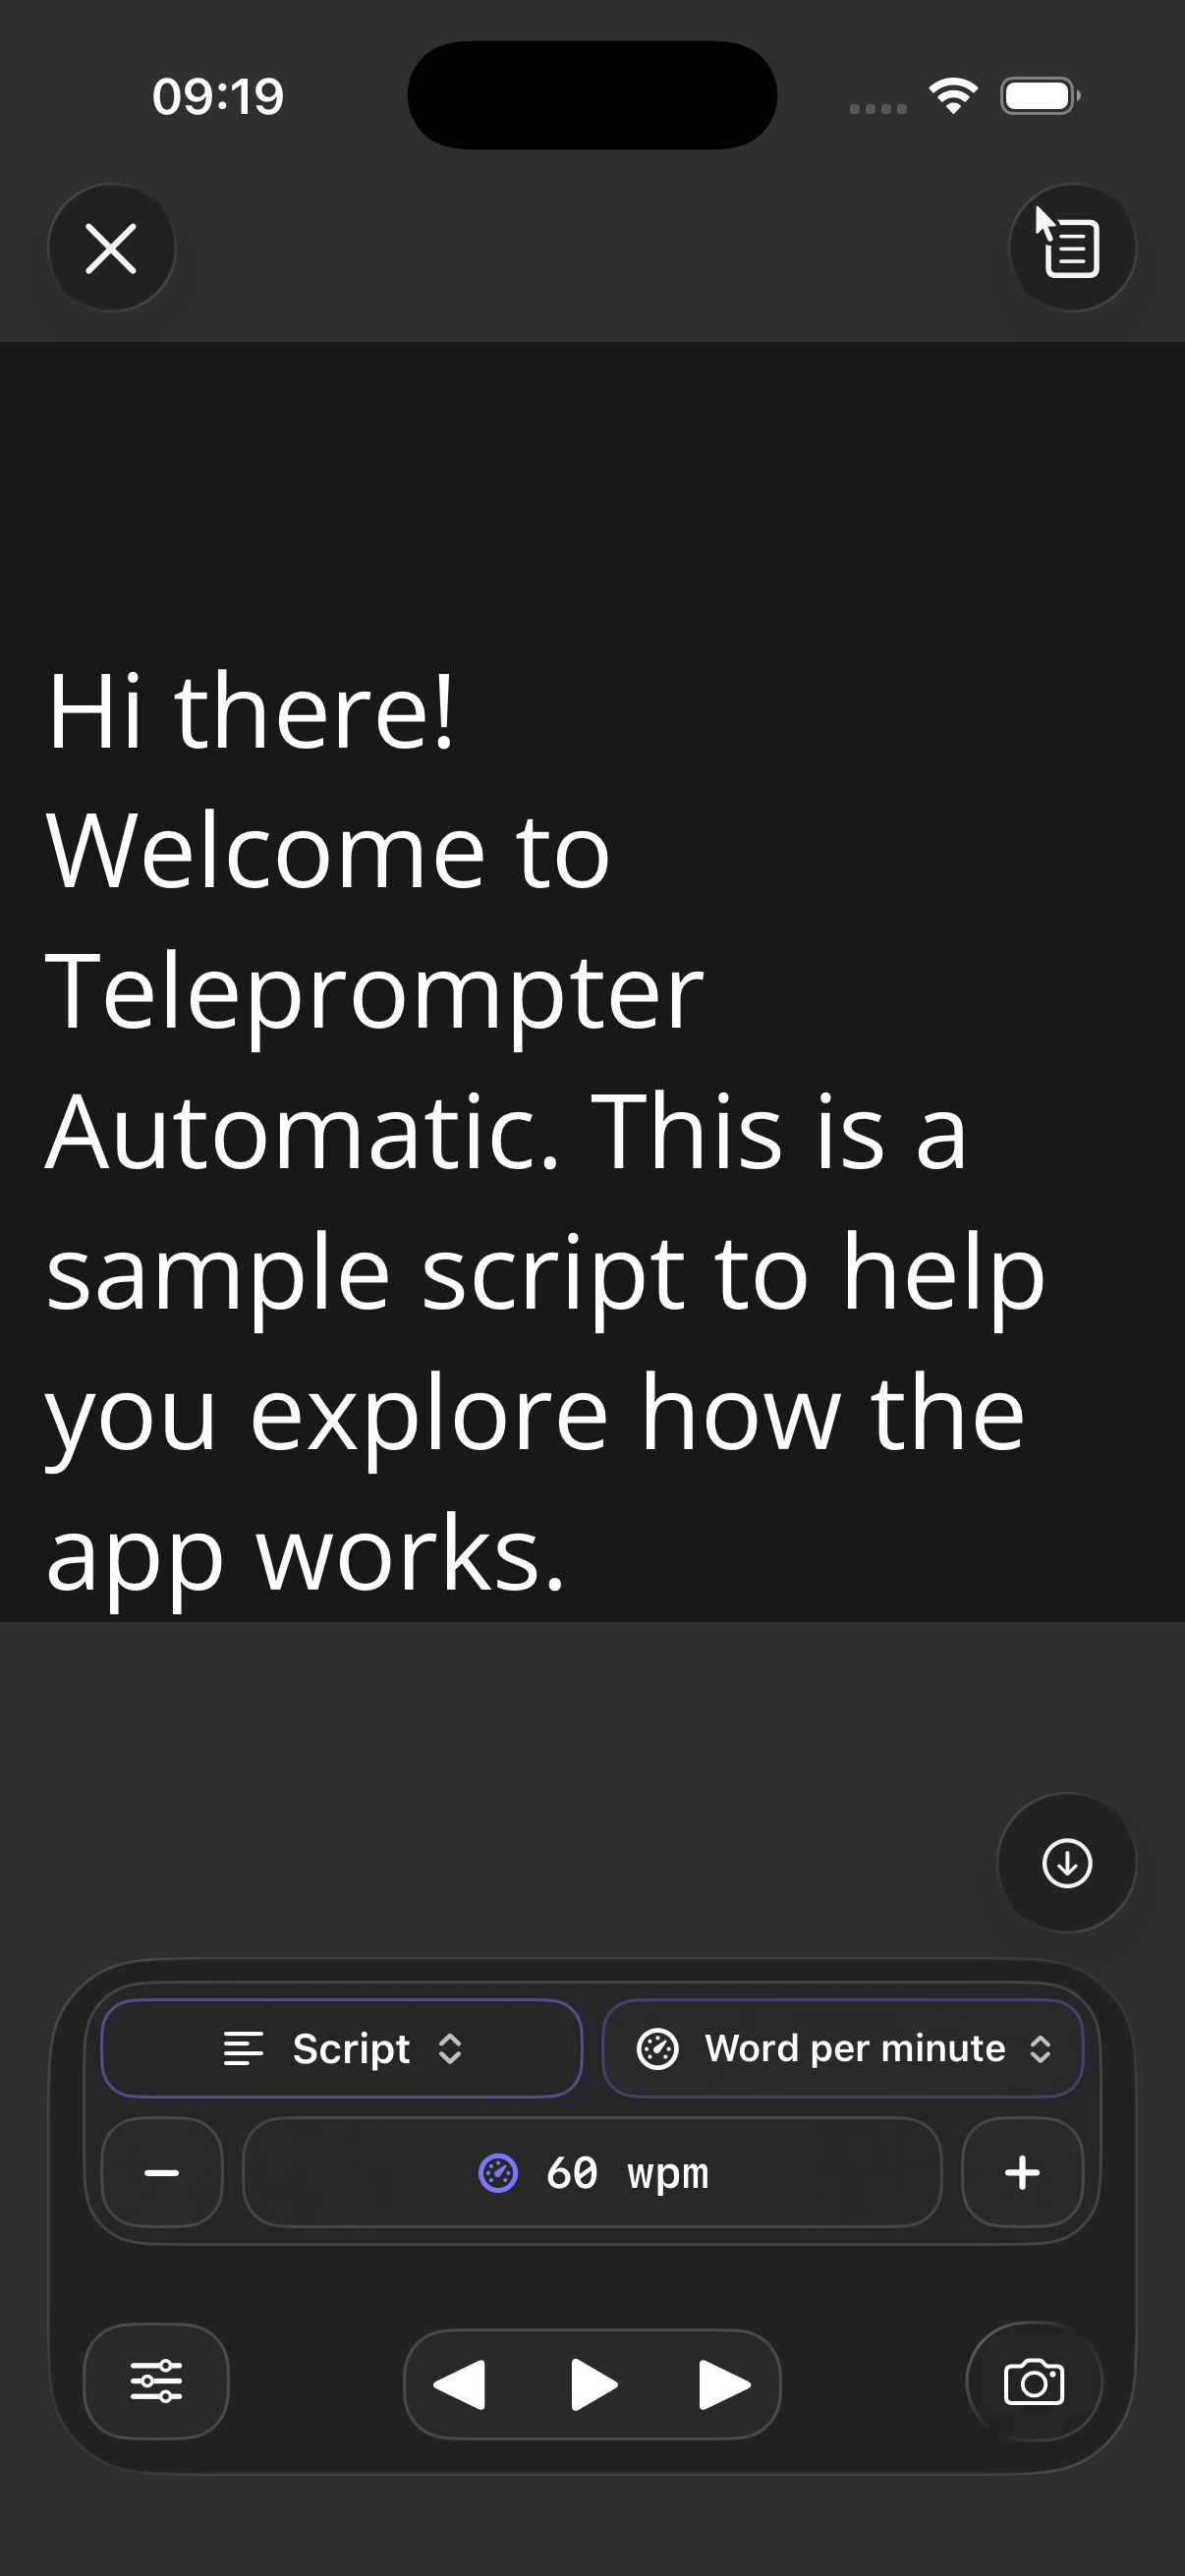
The scrolling and reader controls guide explains the available pacing and display settings in detail.
Keep both hands available when the product needs them
If the demo uses both hands, do not reach toward the mounted phone after every step. That movement can shake the frame, change the product position, and create an obvious interruption. Arrange playback so the device can remain fixed, or ask another person to control the reader during an important shoot.
Web Remote control can manage a paired mobile reader from another browser while the phone stays mounted. Keep the command plan simple: start, pause, resume, or adjust the pace. Remote control should remove friction from the demonstration, not add another complicated system to monitor.
Rehearse the reset points, not only the narration
A demo often fails between steps rather than during the spoken lines. The product may start in the wrong state, a panel may already be open, a removable part may be attached backward, or a setting may still reflect the previous take. Define the starting state for every proof beat and write a reset note before it.
Then rehearse how you will recover. If the product slips, pause, return it to the marked position, and begin from the bridge into that beat. If software loads slowly, decide whether to hold, cut, or capture the result separately. If a prop leaves frame, know where it returns. These reset points turn one long fragile take into a sequence of repeatable demonstrations.
Record one complete proof test
Before recording the final walkthrough, capture one complete test with the real product, framing, lighting, microphone, script position, and background. A silent camera preview cannot reveal whether the words and actions compete for your attention.
- Check that the product is large enough to inspect.
- Watch whether your hands cover the control at the proof moment.
- Confirm that reflections, glare, or screen brightness do not hide the result.
- Listen for product noise that competes with the explanation.
- Check whether your eyes return to the camera after each action.
- Verify that every promise is followed by visible evidence.
- Make sure the next product state is ready before the next spoken line.
If one of these checks fails, fix the script or setup before recording more takes. The camera and recording settings guide covers the product-side preflight before a long recording.
Use focused pickups instead of restarting everything
Divide the demo into an opening, one block for each proof beat, and a closing. Leave a short pause before and after each block. If one step fails, record a pickup from the previous bridge instead of repeating every correct section.
Name the pickup aloud or note it before recording, then return the product to the same position and state. Match your hand placement, camera angle, and speaking energy. A pickup is useful only when the viewer can follow the edit without wondering whether the product changed between shots.
When the takes are ready, continue with the recording and export workflow. Keep the proof sequence intact when trimming; removing the moment between action and result can make a genuine demonstration feel unconvincing.
Use this product demo script template
- Opening result: name the one task or change the viewer will see.
- Starting state: show how the product looks before the first action.
- Proof beat one: promise, action cue, visible result, bridge.
- Proof beat two: repeat the structure for the next necessary action.
- Limit or condition: state what the viewer needs to know before expecting the same result.
- Recap: summarize only the results that were visible in the recording.
- Next action: tell the viewer what to compare, try, configure, or learn next.
For a sixty-second lamp walkthrough, that might become: show the current light, change warmth, hold the result, change brightness, fold the arm, and recap the three visible states. The script stays short because the product supplies the evidence.
Review proof before adding polish
Watch the first review without sound. Can you identify the starting state, each action, and each result? Listen to the second review without concentrating on the picture. Does the narration explain the sequence without repeating everything the viewer can already see? On the third review, check the two together for timing.
Only after the proof works should you trim dead space, adjust the format, add subtitles, or prepare versions for different destinations where supported. Polish cannot rescue a demo that never shows the promised change. Preserve enough visual time before and after each action for the viewer to understand what happened.
Common product demo video mistakes
- listing features before choosing the result the video must prove
- reading action cues aloud because they are buried inside narration
- moving to the next line before the visible result appears
- letting hands, glare, or a shallow crop hide the important control
- using vague praise instead of observable evidence
- trying a new scroll or remote-control mode during the final take
- recording every retake from the beginning
- changing the product state or hand position between pickups
- treating a software demo as a product integration claim
- cutting so tightly that the viewer cannot verify the action and result
Related Teleprompter Automatic guides
- teleprompter for content creators - Connect the demo to the broader scripted recording workflow.
- create and import scripts - Prepare the spoken lines and production cues.
- scrolling and reader controls - Tune pace, text size, and playback.
- Web Remote control - Keep a mounted reader fixed during hands-on steps.
- camera and recording settings - Check framing, microphone, countdown, and capture setup.
- record and export videos - Move from the finished script to a saved take.
- screen-recorded software tutorials - Plan a demo whose main proof happens on screen.
- sales video teleprompter workflow - Build a pitch when persuasion, not demonstration, is the main job.